I built this sail rig to go with my boat, Hull B. I built this project strictly from plans, and raw materials. I also did things a little differently than CLC lays out. First, I used a different sail plan, with a jib and a mainsail. I will also changed the way the crossbars (aka's) will be attached to the hull. Finally I built the floats (ama's) as hybrids, where the hulls were plywood and the decks were strip built.
Length: 12 feet
Beam: 10 feet
Weight: 40 lbs.
-
CLC Sail Rig Mk2
-
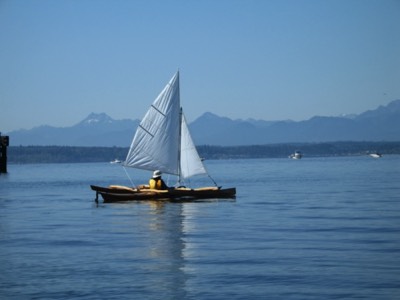
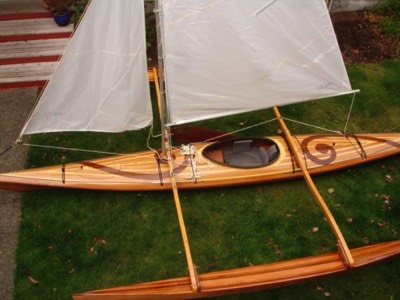
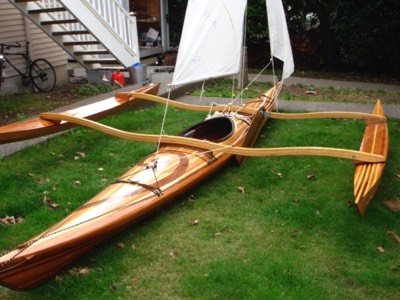
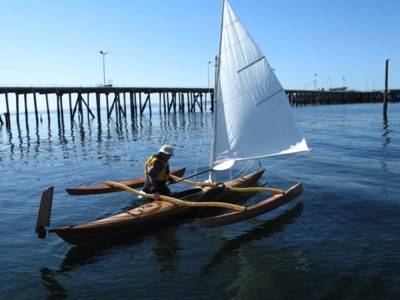
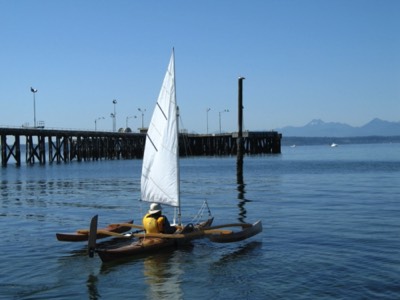
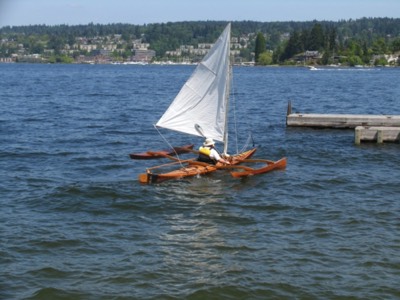
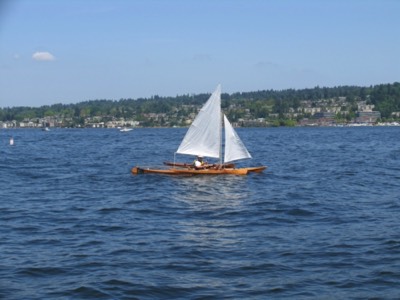
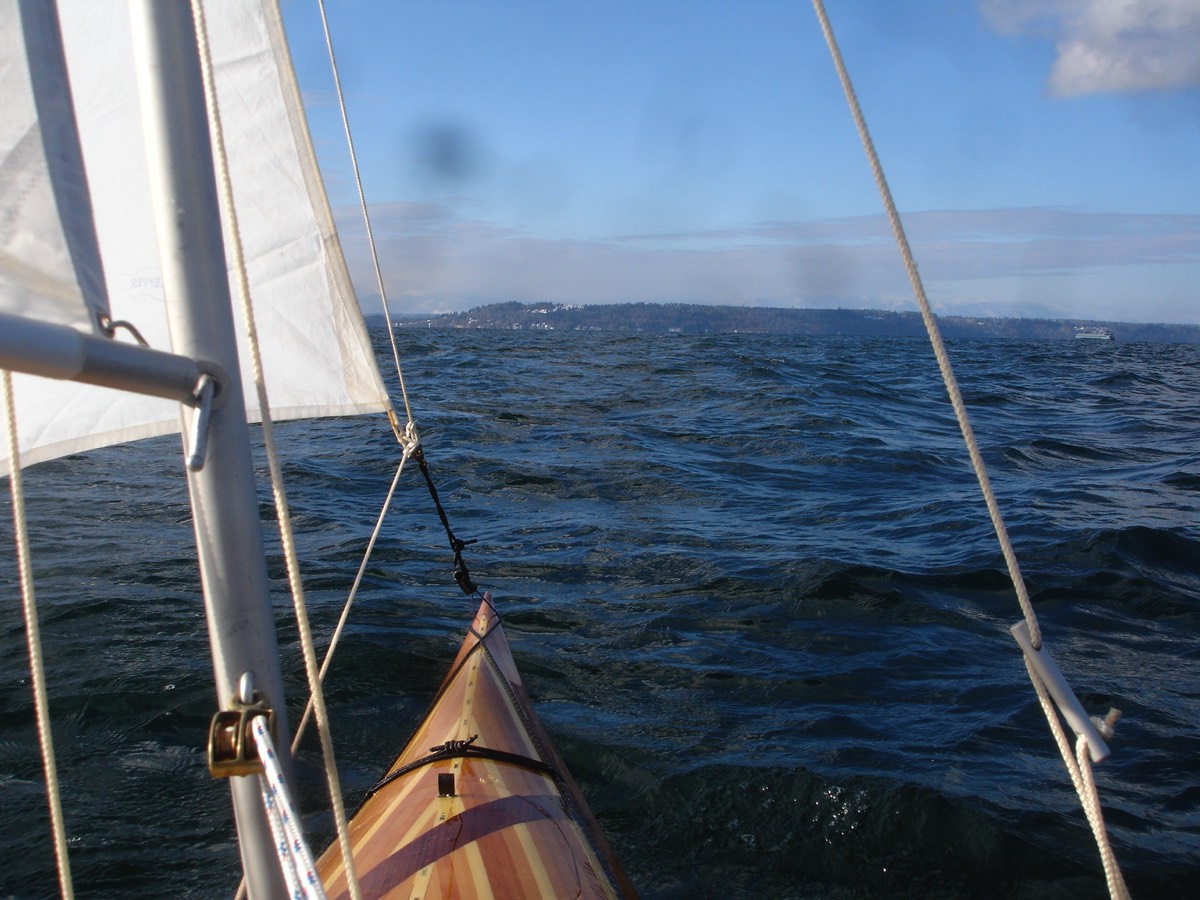
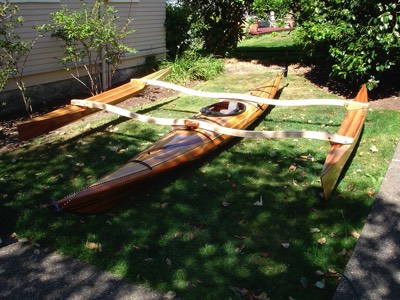
8/28/08 - The sail rig is complete!
-
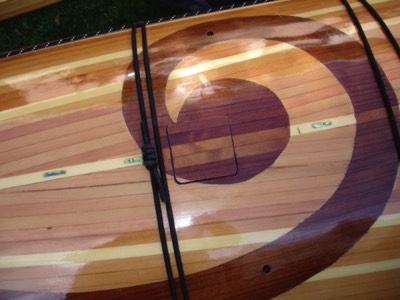
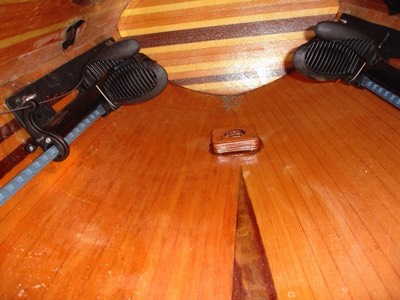
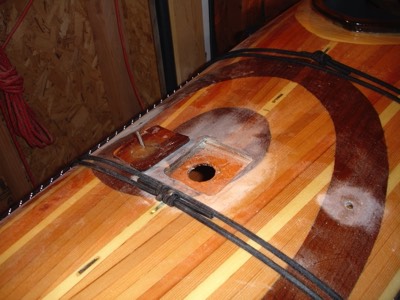
A small hatch covers the spot where the mast goes.
-
CLC Sail Rig Mk2
-
CLC Sail Rig Mk2
-

CLC Sail Rig Mk2
-
CLC Sail Rig Mk2
-
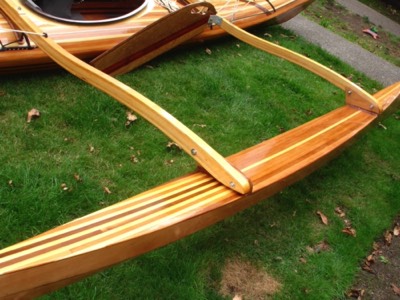
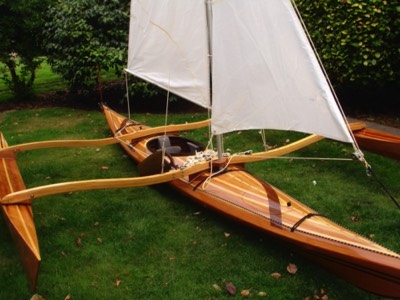
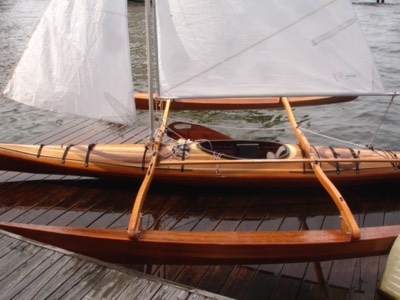
View of one of the amas.
-
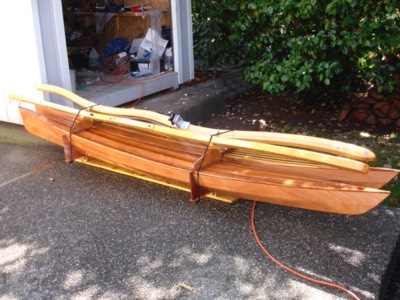
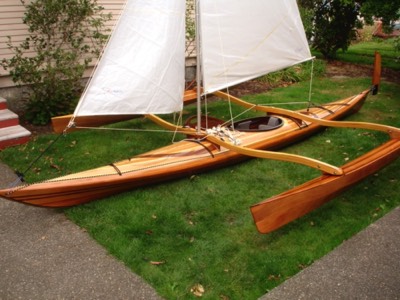
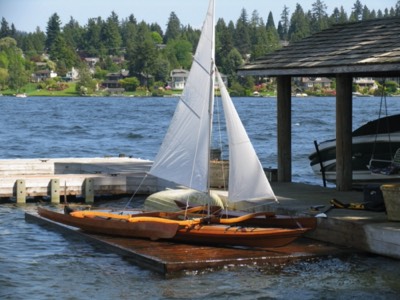
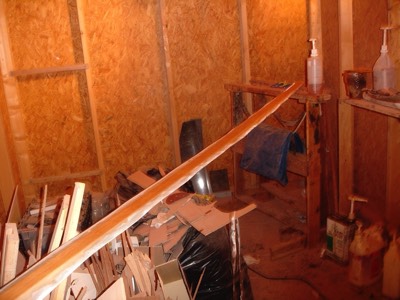
9/13/08 - A system is built to carry the rig in one compact package.
-
CLC Sail Rig Mk2
-

CLC Sail Rig Mk2
-
CLC Sail Rig Mk2
-
CLC Sail Rig Mk2
-
CLC Sail Rig Mk2
-
CLC Sail Rig Mk2
-

CLC Sail Rig Mk2
-
CLC Sail Rig Mk2
-
CLC Sail Rig Mk2
-
CLC Sail Rig Mk2


-
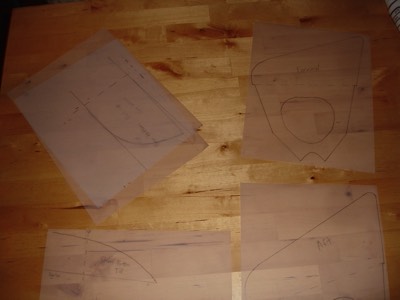
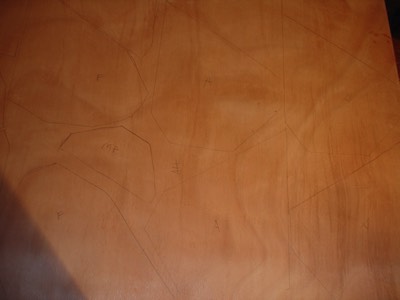
The first step is to trace the full sized patterns for various parts of the rig.
-
7/31/08 - Bulkheads and mast parter pieces are drawn onto a piece of plywood.
-
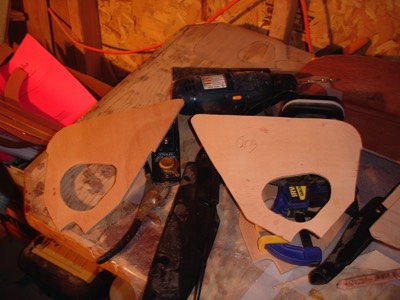
The bulkheads are cut down to shape.
-
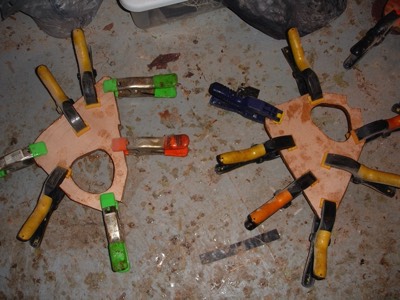
The bulkheads are laminated together. Altogether, the laminated bulkheads equal about 19 mm. This is 10 more than the plans call for. I am doing this for extra strength for rough weather and for possible installation of nets later on.
-
8/3/08 - The bulkheads are sanded to their final shape.
-

A finished upper stern hull panel.
-
This is a lower hull panel.
-
The panel is cut and shaped.
-
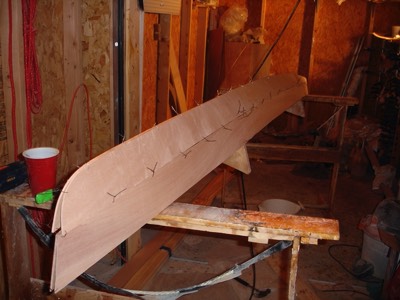
The port ama is loosely stitched together.
-
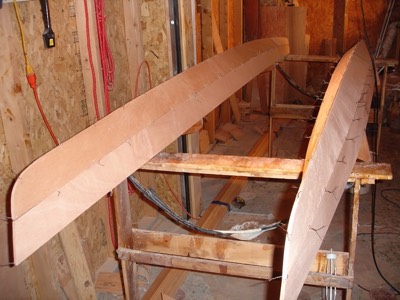
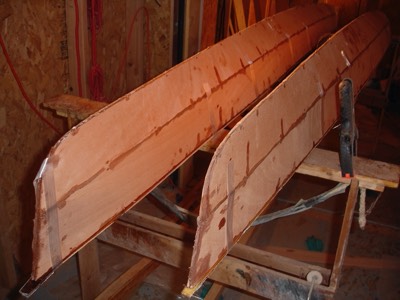
Both amas are stitched up and ready for glue.
-
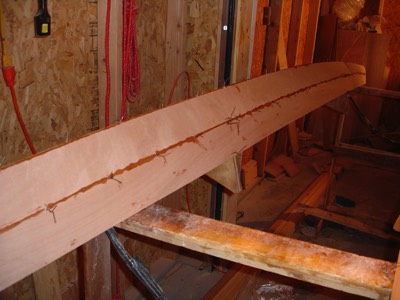
The port ama with the seams filled with epoxy.
-
8/4/08 - The interiors of the amas are coated with epoxy for waterproofness. Also the seam between the panels was reinforced with fiberglass tape.
-
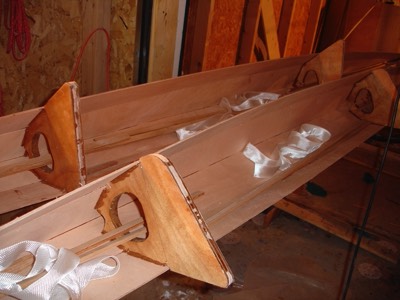
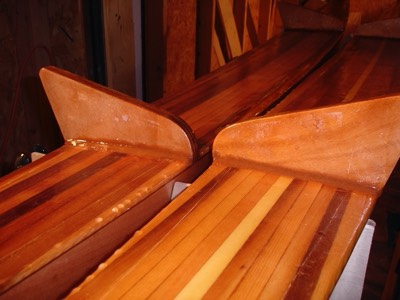
Sheer clamps are installed.
-
Ledge on the bulkhead for the deck to rest on.
-
The starboard ama will have a hybrid strip deck.
-
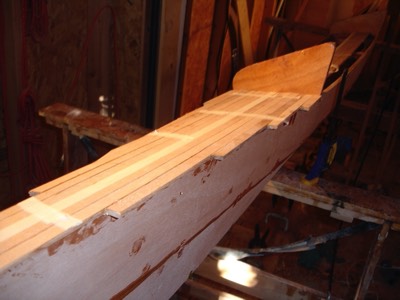
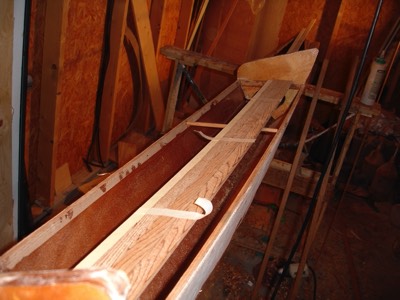
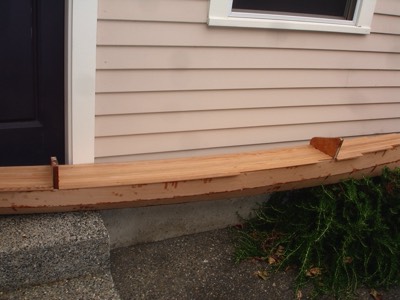
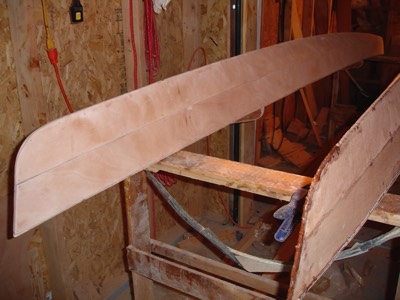
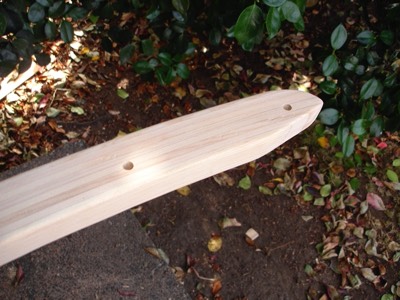
The starboard ama bow.
-
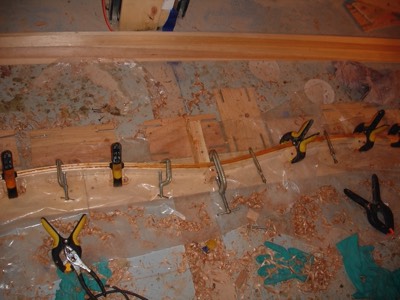
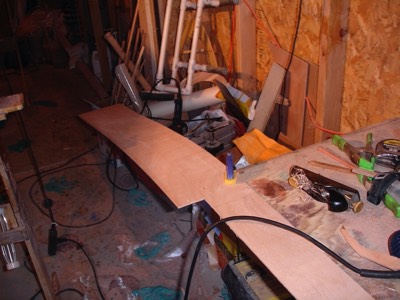
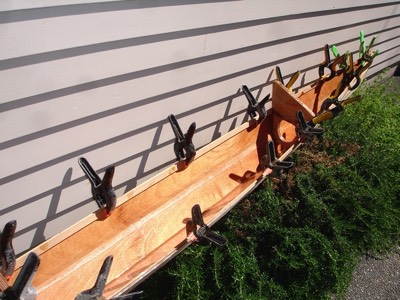
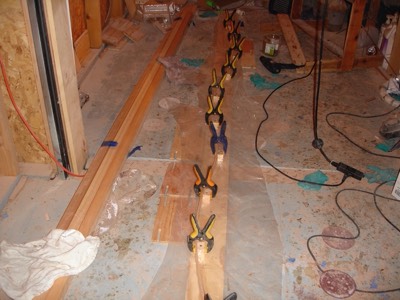
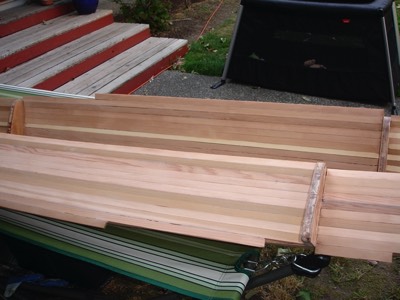
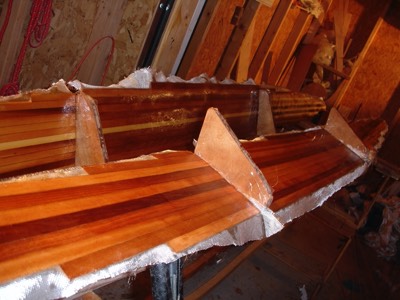
The second aka is laminated only 3 strips at a time.
-
The deck is finished on the starboard ama.
-
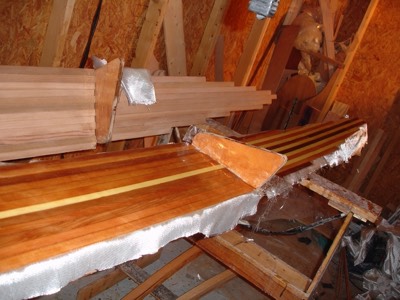
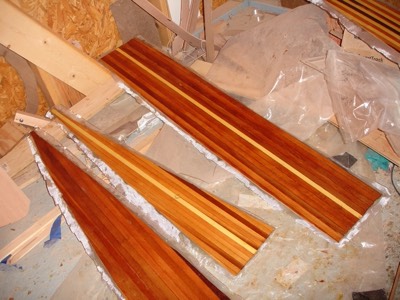
The port ama deck is stripped.
-
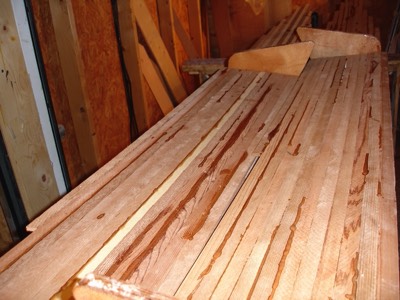
Since I used old damaged strips for the decks, I had to fill gaps between them with epoxy.
-
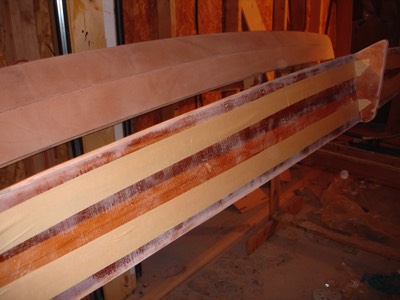
8/8/08 - The decks of the amas are sanded smooth.
-
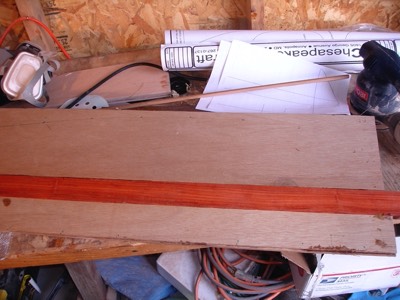
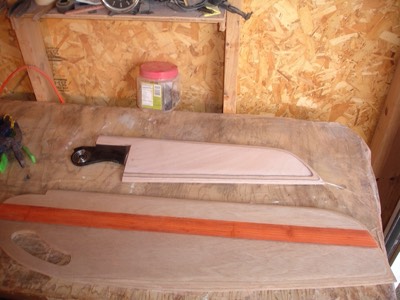
8/10/08 - Sheets of plywood and a piece of bloodwood are epoxied together for use as the leeboard.
-

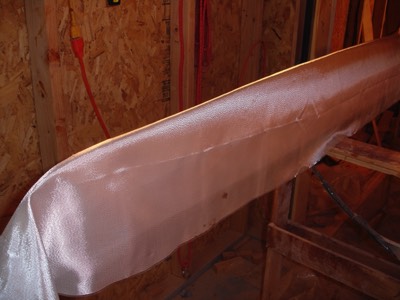
Fiberglass cloth is laid out on the decks of the amas.
-
8/11/08 - The starboard ama deck is fiberglassed.
-
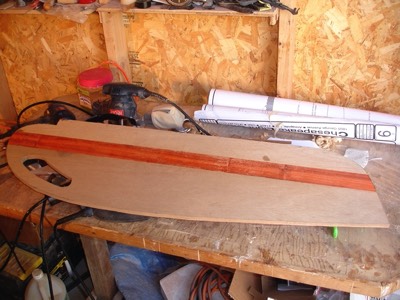
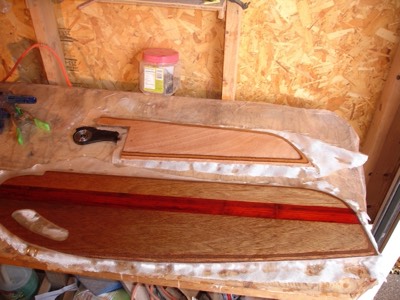
The leeboard is cut out.
-
Both ama decks are 'glassed and fill coated.
-
8/12/08 - The undersides of the decks are fiberglassed.
-
The rudder and leeboard are sanded and ready for fiberglass.
-
Both are fiberglassed.
-
The decks are epoxied onto the amas.
-
The amas are sanded smooth. Here you can see the difference pre and post sanding.
-
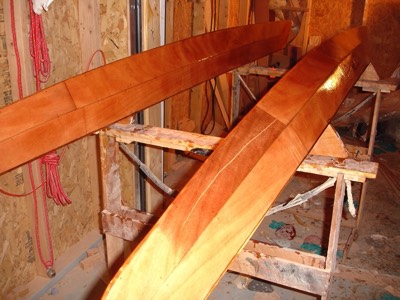
8/15/08 - The amas are sanded and ready for fiberglass.
-
Glass cloth is laid out.
-
The other ama is fiberglassed.
-
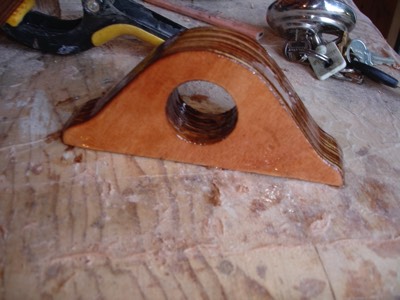
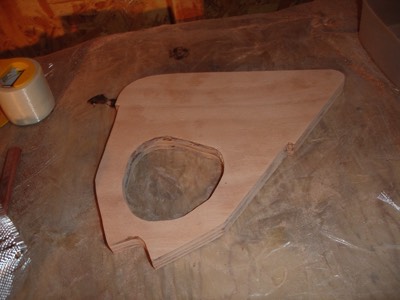
The hole is cut for the mast in the mast partner. It is also sealed with epoxy.
-
Both amas get a couple fill coats of epoxy. The white line is not a scratch, it is a discolored section of the plywood.
-
8/18/08 - The bulkheads are reinforced with epoxy fillets. This completes the construction of the amas. I only have to sand and varnish them.
-

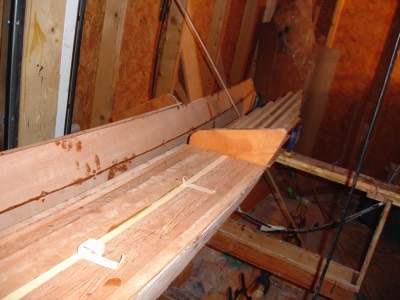
The mast partner is attached to the forward aka.
-
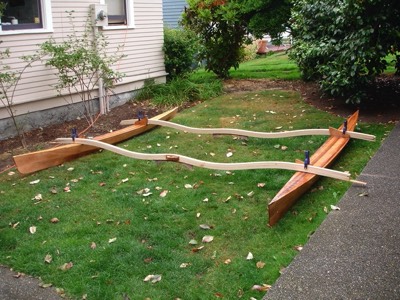
8/19/08 - The akas and amas are laid out.
-
After holes are drilled for bolts in the amas they are put together and laid on the kayak.
-
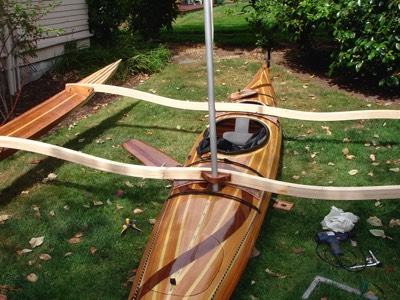
The mast is test fit onto the boat.
-
The mast step is installed.
-
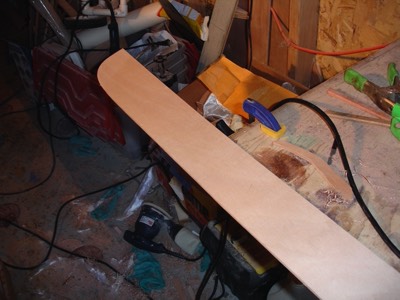
The akas are sanded smooth.
-
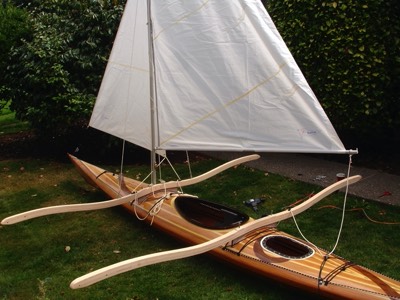
8/22/08 - The sail rig is set up!
-
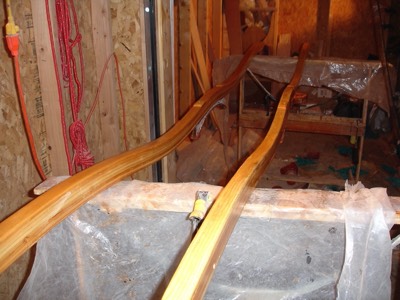
The akas get the first seal coat of epoxy.
-
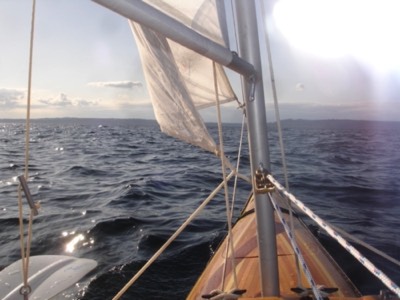
9/28/08 - A new rudder that will work with a tiller is being built.
-
9/29/08 - The wood for the tiller is fiberglassed.
-
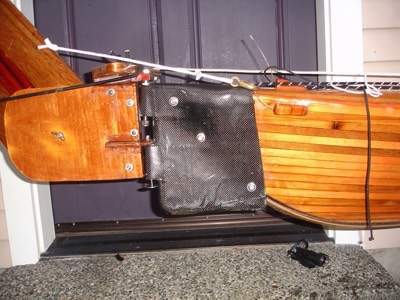
12/13/08 - After some sea trials a reinforced carbon fiber end cap was built as a rudder mount.
-
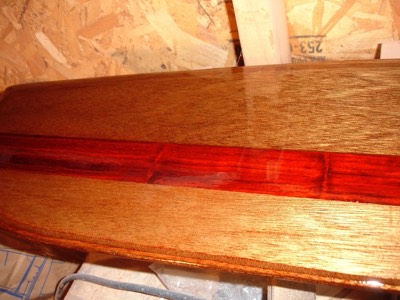
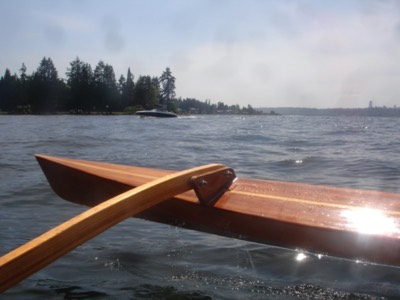
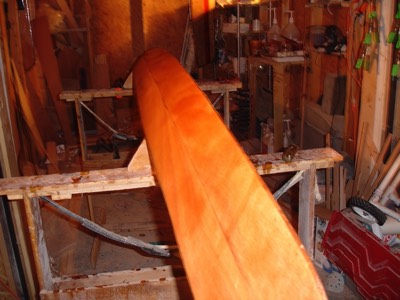
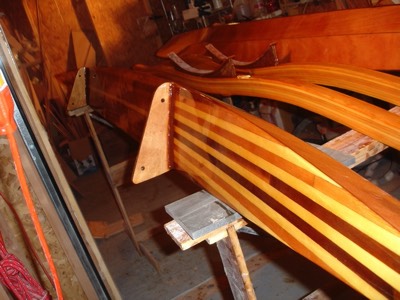
8/26/08 - Everything has been sanded and varnishing has begun. A good view of the leeboard.
-
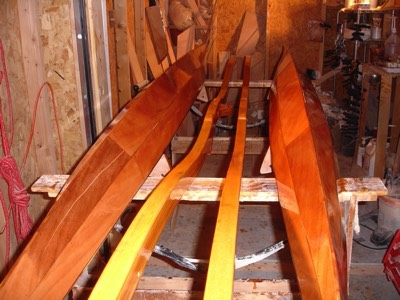
The amas and akas get a couple of coats of varnish.
-
8/27/08 - The decks of the amas and the lower side of the akas are varnished.
-

8/28/08 - All the pieces are in place.


Link to full construction gallery.